Add accounts and balances
Enter the cash, debts, and other balances that matter to the plan. These are the starting values Clearflow uses for its projections.
 Clearflow
Home
Clearflow
Home
Using Clearflow
Clearflow puts the dates and amounts that matter on one timeline. This guide shows what to enter, what each screen means, and how to use the plan before you make a money decision.
01 · Start here
You do not need a perfect financial history. Start with the balances, income, bills, and payments that affect the next few weeks.
Enter the cash, debts, and other balances that matter to the plan. These are the starting values Clearflow uses for its projections.
Record the timing and amount you expect. Expected income is a planning baseline until you confirm what actually arrived.
Add bills, debt minimums, savings contributions, and other obligations. Required items are protected before optional allocations.
Use purchases, savings goals, and temporary changes to test decisions without hiding their impact on the rest of the plan.
02 · The planning model
Clearflow does not throw away the plan at the end of a month. A month is a useful view; the dated ledger is what connects one month to the next.
Income, bills, payments, and goals you have planned but have not confirmed yet.
Required commitments and safety buffers that must be covered before money is treated as available.
Extra debt payments, flexible spending, purchases, and goals that compete for the remaining room.
Activity you have reviewed and marked as real. Confirming an event updates the forecast rather than silently rewriting history.
03 · The app screens
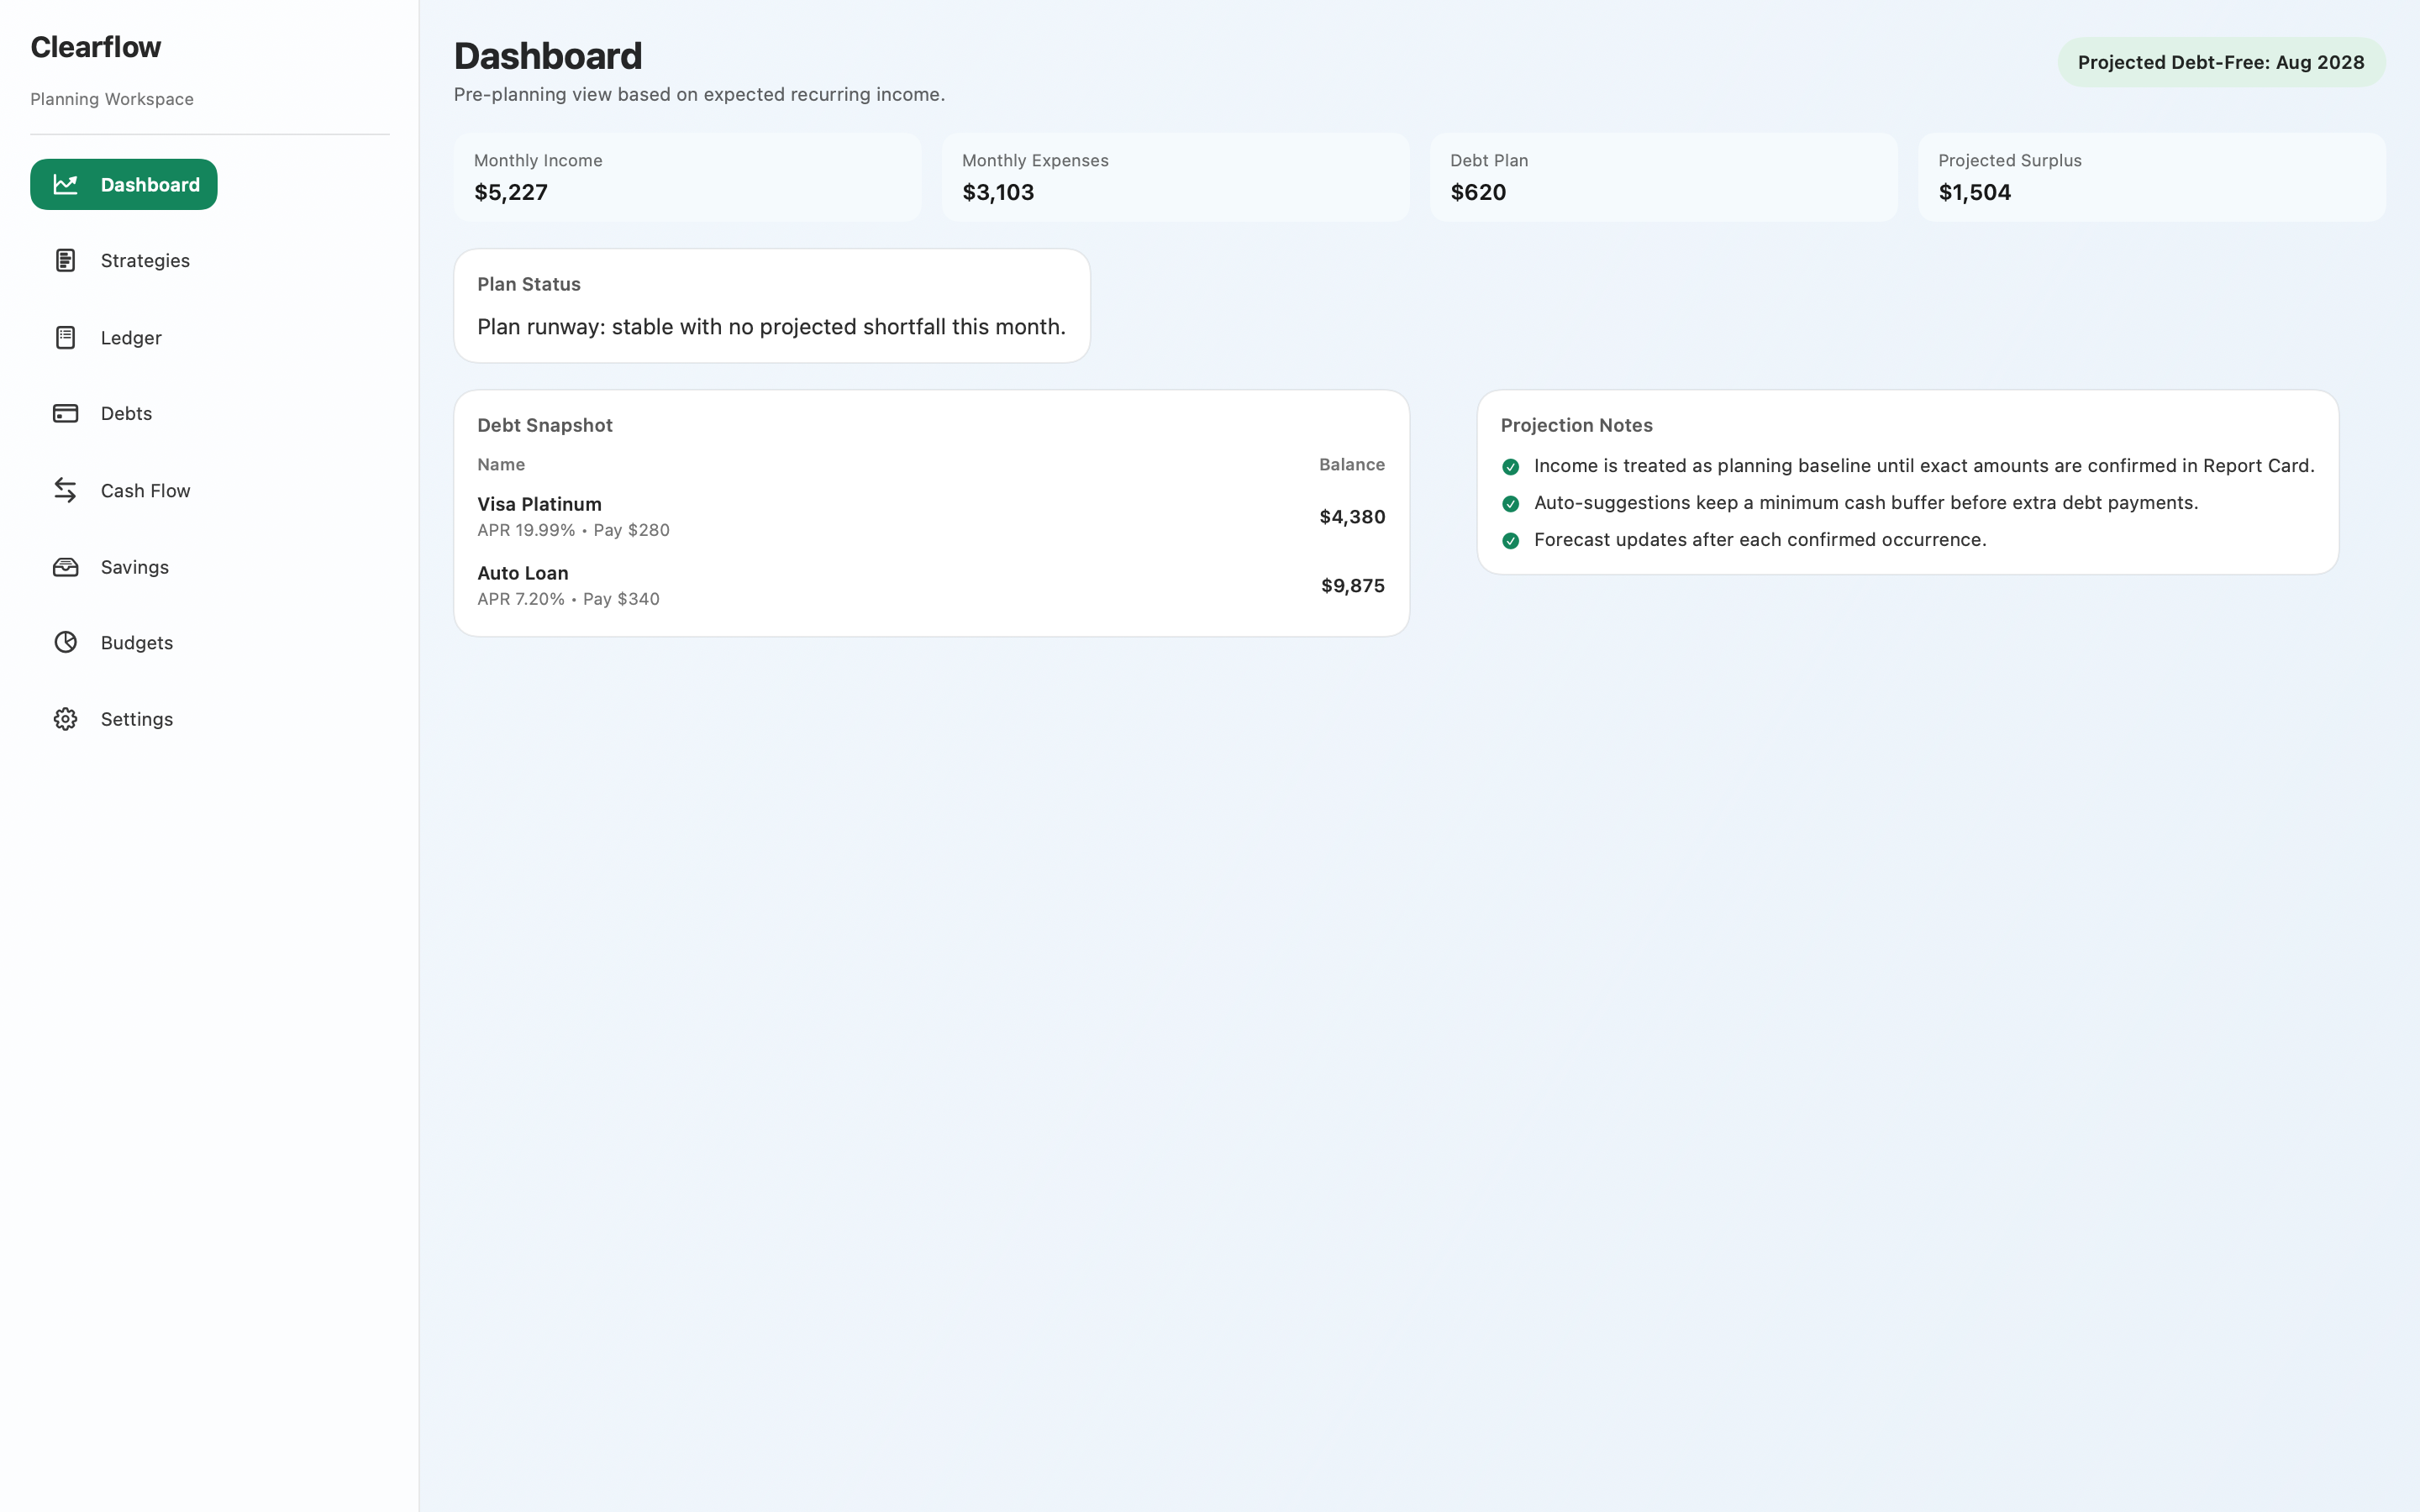
Use the screen that matches the question in front of you. The same plan is behind each view.
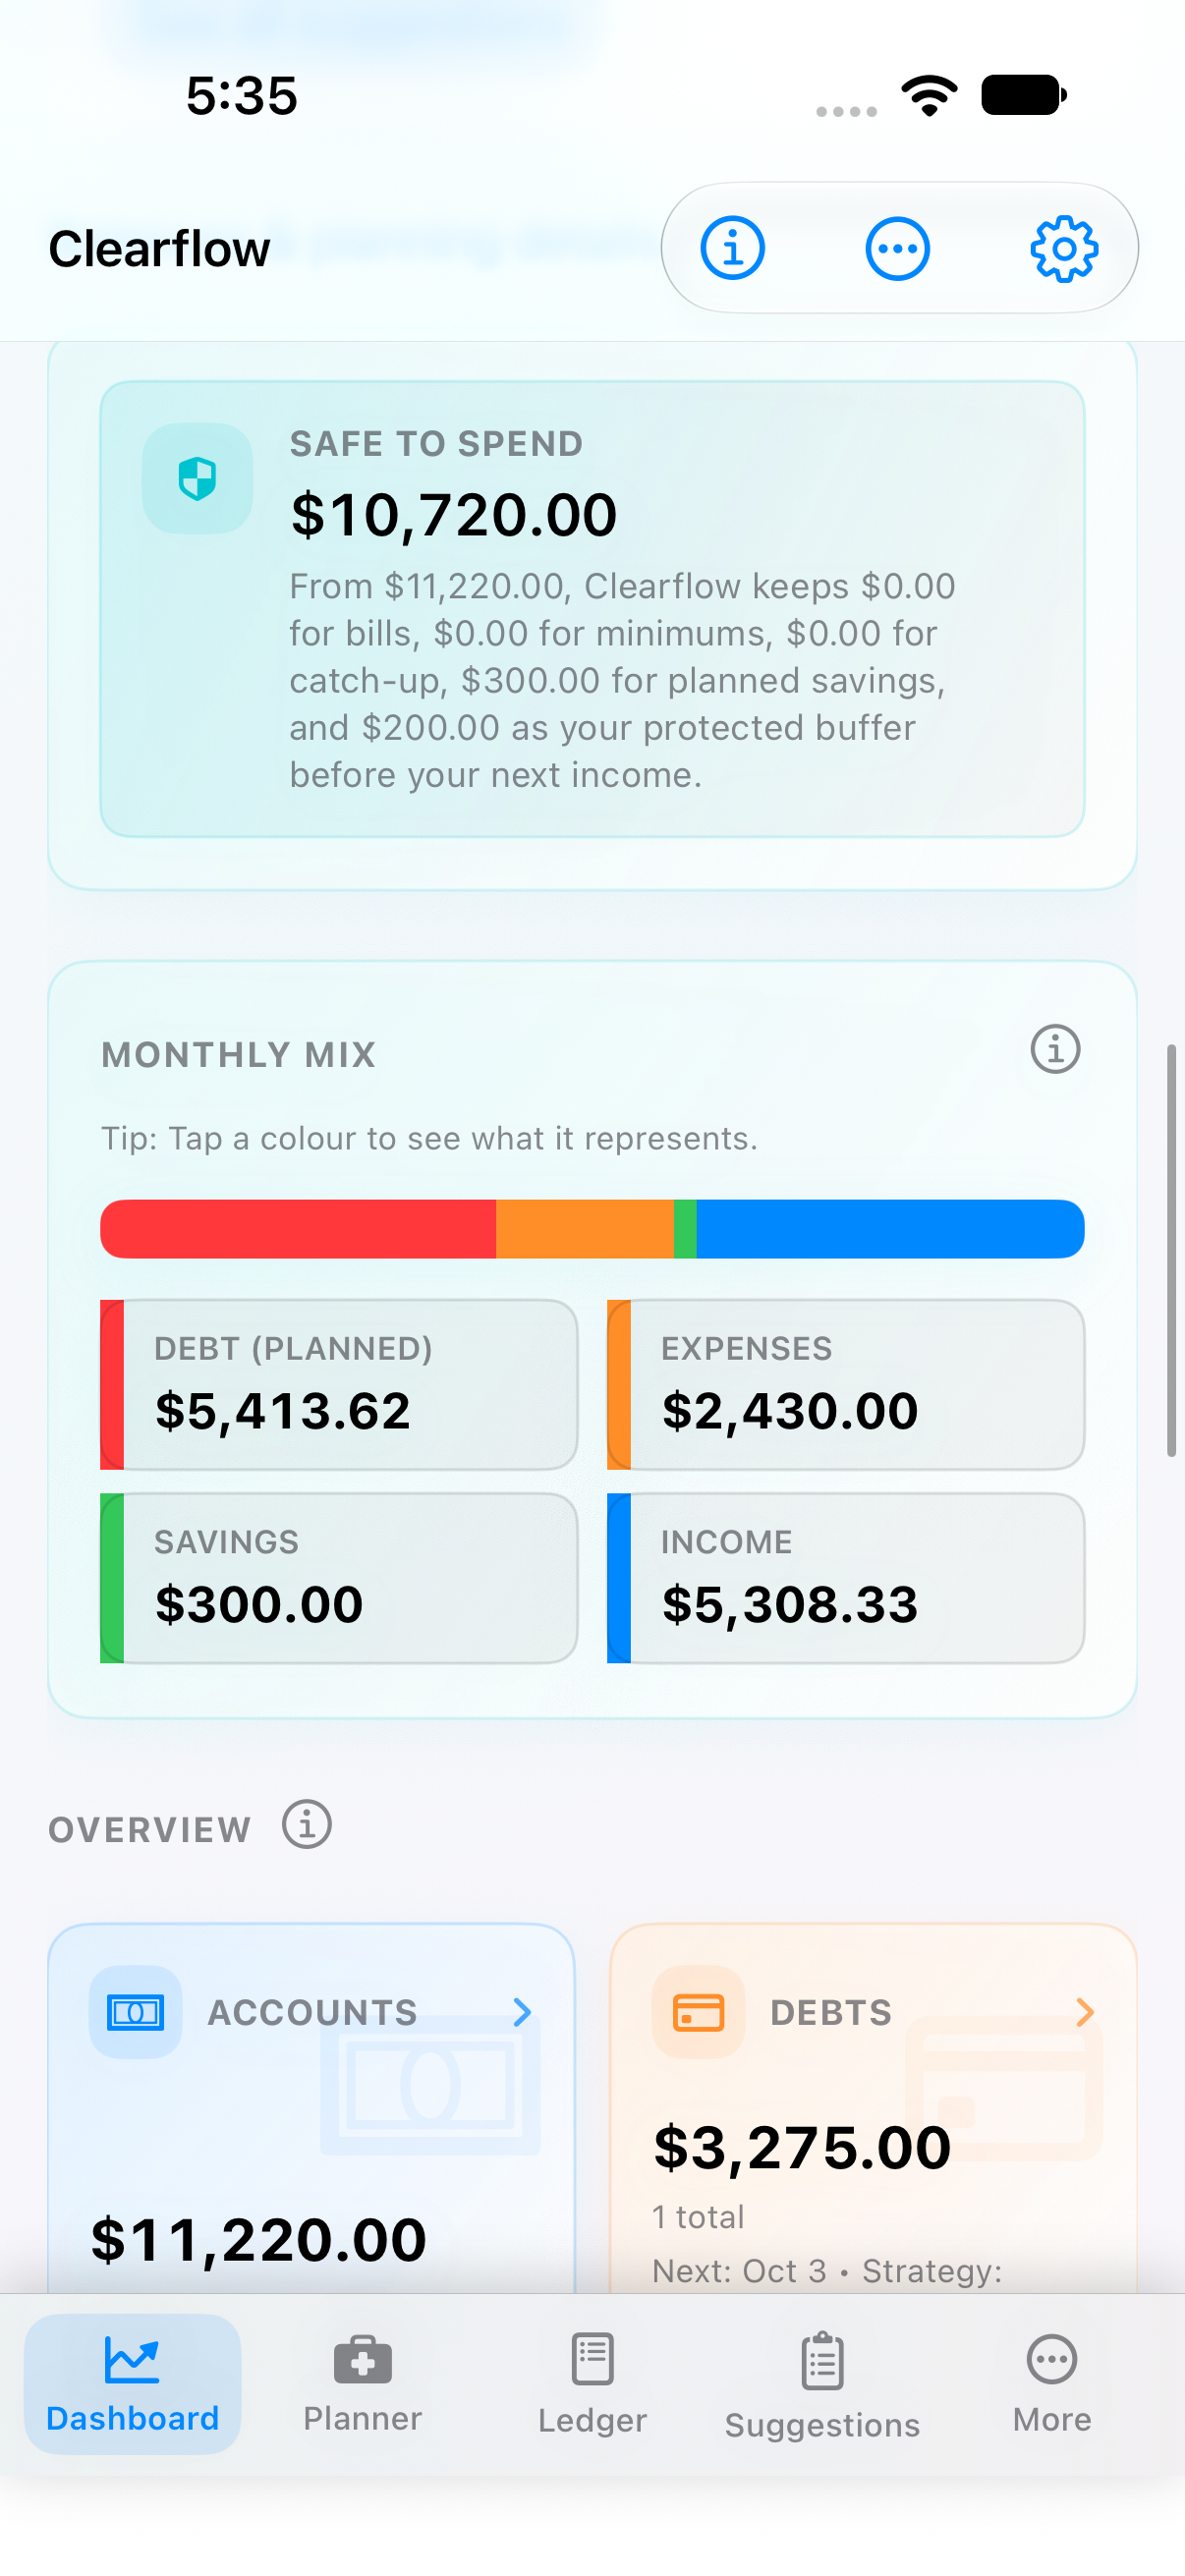
Start with the plan status and Safe to Spend. Read the explanation underneath: it shows what Clearflow is protecting before it calls anything available.
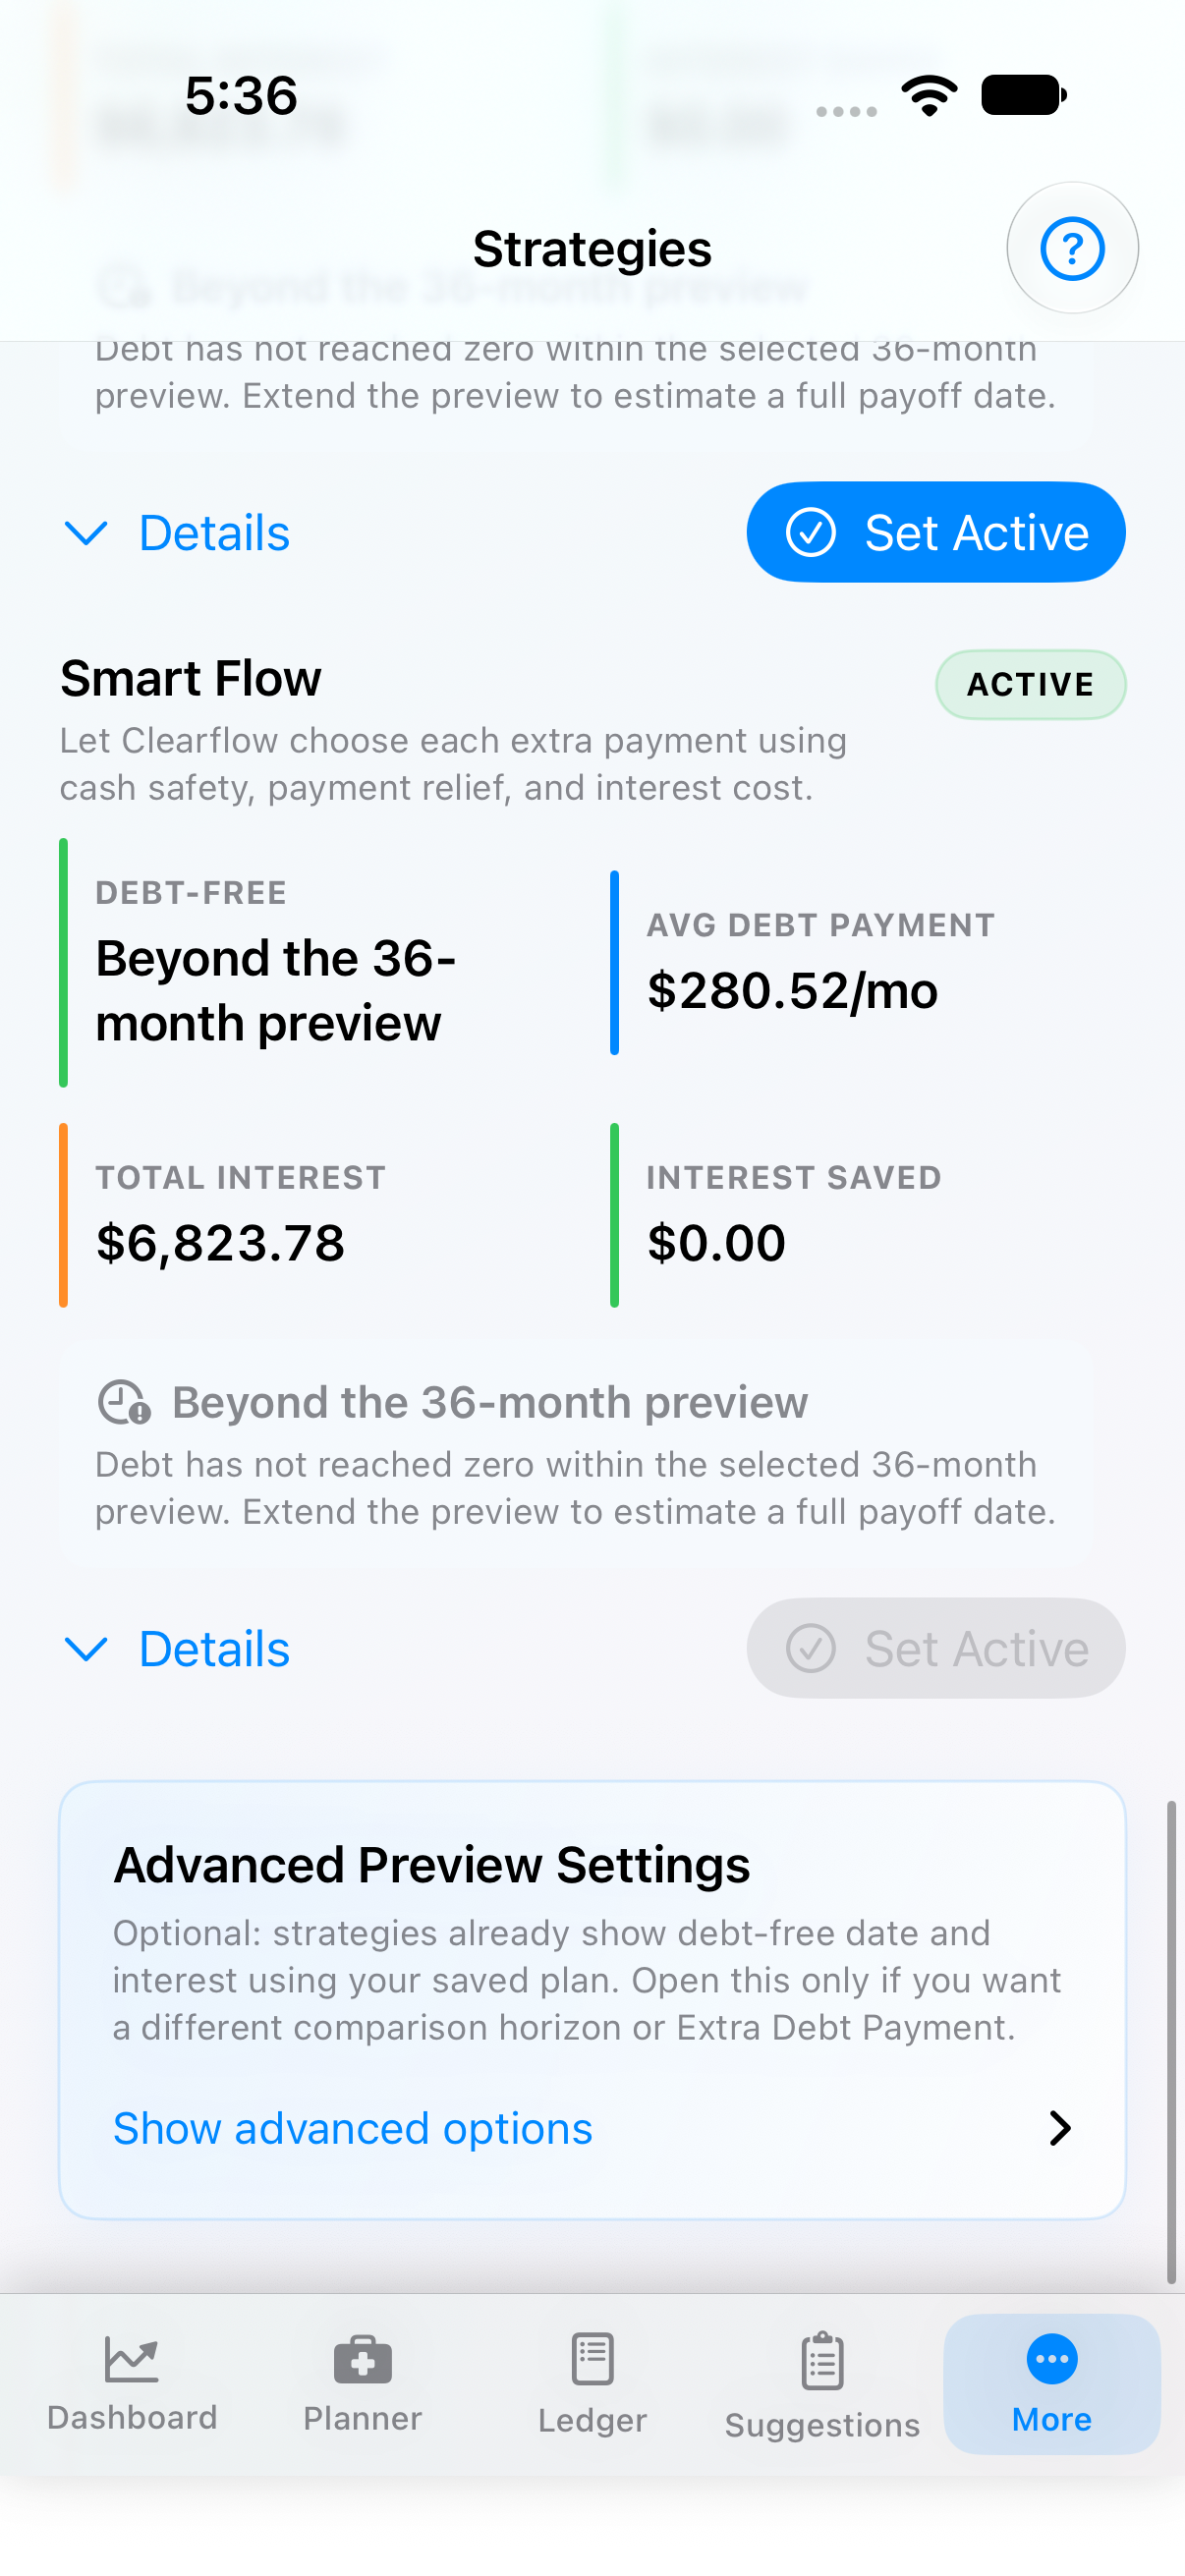
Compare strategies before making an extra payment. Review the time horizon, average payment, projected interest, and interest saved. Set a strategy active only when the tradeoff makes sense for you.
The ledger is the detailed timeline behind the summary. Filter it by time or type, inspect individual events, and update the plan when reality changes.
Suggestions surface optional next steps. They are prompts, not warnings, and you remain in control of accepting, dismissing, or revisiting them.
04 · A useful routine
You do not need to rebuild the plan every month. Review what changed, confirm what happened, and leave the next few weeks understandable.
Mark it confirmed if the amount and date are known. The plan can then distinguish what happened from what is still expected.
Read the protected amount and the explanation. If the purchase changes a future obligation, add it to the plan first.
Use Strategies, savings, or the purchase planner to compare the choice with the current active plan.
Filter the relevant period, confirm or adjust what changed, and leave the next projection understandable.
05 · Reading the numbers
Safe to Spend is the amount left after Clearflow accounts for the commitments and protections currently in the plan. It is not the same as your bank balance.
Projected means the event is part of the future plan but has not been confirmed. Confirmed means you reviewed it as real. Keep those states separate when you are making a high-consequence decision.
Beyond the preview means the current comparison window is not long enough to show the full result. Extend the window before treating a payoff date or long-range outcome as known.
Clearflow intentionally exposes assumptions and limitations so you can decide how much confidence a number deserves.
Want the comparison?
Compare it with budget apps, trackers, debt calculators, and spreadsheets.